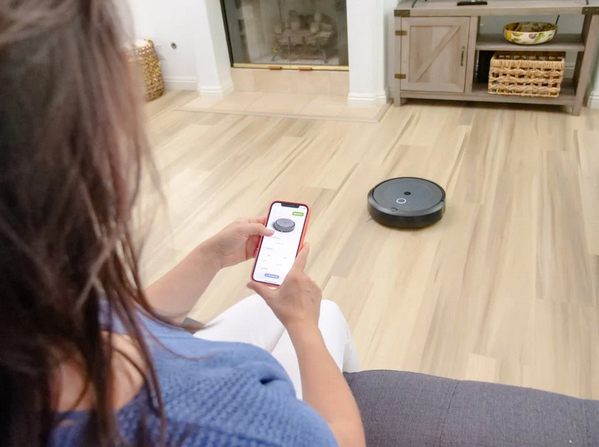
Are you ready to take your home into the future? With smart technology becoming increasingly accessible, upgrading your living space has never been easier. Whether you’re a tech novice or an experienced DIY enthusiast, transforming your house into a smart home can be both fun and fulfilling.
Imagine controlling your lights with just a voice command or adjusting the thermostat from anywhere in the world. From simple lighting upgrades to more advanced security features, there’s something for everyone. Here, you’ll discover how easy it is to make these upgrades yourself without breaking the bank or calling in professionals.
Smart Lighting (Bulbs and Switches Installation)
Smart lighting is a fantastic starting point for anyone looking to upgrade their home. With smart bulbs and switches, you can control your lights from anywhere using your smartphone or voice commands. Begin by choosing the right smart bulbs. Look for options that are compatible with your existing fixtures. Installation is usually as simple as replacing a standard bulb, just screw in the new one and connect it to your Wi-Fi network through an app. For added functionality, consider installing smart switches. This allows you to control multiple lights simultaneously and integrates seamlessly into your home’s existing wiring.
DIY Smart Thermostat (Wiring & Compatibility)

Upgrading to a smart thermostat can significantly enhance your home’s energy efficiency. The first step is understanding the wiring in your existing system. Most thermostats use four essential wires: R, C, W, and Y. Identifying these will guide you through installation. Before purchasing a smart thermostat, check its compatibility with your heating and cooling systems. Many manufacturers provide online compatibility tools or charts that simplify this process. Once you’re ready to install, turn off the power to avoid any electrical hazards. Carefully label each wire before disconnecting them from your old thermostat; this makes it easier during reinstallation.
Video Doorbell Installation (Wired vs. Battery)
Video doorbells are a fantastic way to enhance your home security. They allow you to see who’s at the door without having to open it. But which installation type is right for you: wired or battery-powered? Wired video doorbells connect directly to your existing doorbell system. This option often provides continuous power, It also means no need for frequent battery replacements. Plus, they typically offer more consistent performance. On the other hand, battery-operated models offer flexibility in placement. You don’t need access to electrical wiring, making them easier for DIY enthusiasts with limited experience. Just remember that regular charging or replacement will be necessary.
Smart Lock Retrofit (Keeping Existing Deadbolt)
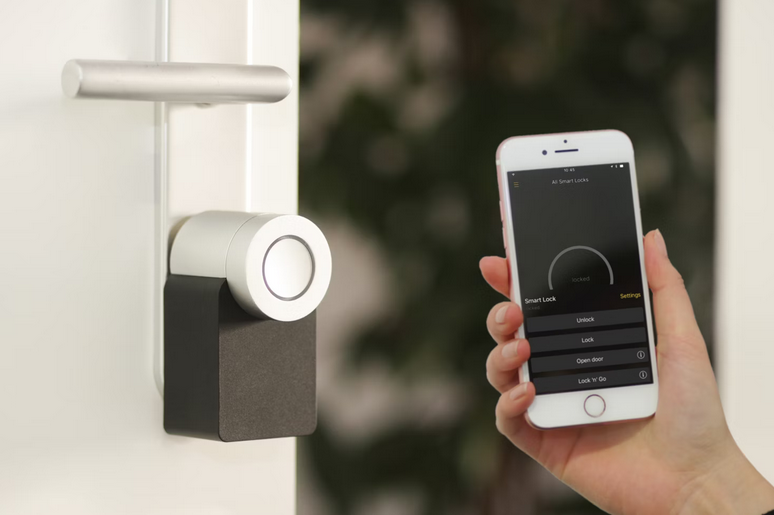
Upgrading to a smart lock doesn’t mean you have to say goodbye to your trusty deadbolt. Many smart locks are designed for retrofitting, allowing you to keep the existing hardware while adding modern technology. These devices typically fit over your current deadbolt. Installation is straightforward and usually requires just a few tools. You can do it yourself with minimal fuss. Once installed, the smart lock offers features like remote access and keyless entry through an app on your phone. Some models even allow temporary codes for guests or service personnel. Security remains a priority as well, with most systems boasting encryption protocols that keep intruders at bay.
Each of these upgrades offers its own set of benefits and challenges. By embarking on this DIY adventure, you make informed choices about technology that fits seamlessly into your lifestyle. Embrace the potential of creating a smarter living space tailored just for you!